Showing posts with label Root pictures. Show all posts

Tuesday, October 30, 2012

Wood chip soil pictures

The garden beds, which had wood chips dug into the soil, did the best this year.
So I decided to dig up soil in them and take a look at what was going on.

Most noticeably was that the plant roots all congregated where clumps of wood chips were buried.


Also very noticeable, there was lots of worms throughout all the soil, soil that had wood chips and soil that didn't.  In previous years I had never seen so many worms. I believe having the wood chip mulch encouraged more worms than the leaf and pine needle mulch that I used in previous years.  I had wondered if worms would feed on wood chips, it seems that they do.


Here are two clumps from the same bed.  On the left no wood chips had been mixed in. On the right lots of wood chips had been buried. Notice the almost total lack of roots on the left, yet these clump were only about 4" away from each other in the ground.


Another soil & wood chip aggregate from another wood chip bed. Notice the darker parts of the soil in this picture. These are worm castings. The soil had lots of worm casting deposits wherever wood chip clumps were, even over a foot deep.


Here I dug up soil from a regular hugel bed (horizontally placed logs).  In the spring I did dig in some pine needles & leaves, but they had totally disappeared.  The cucumber growing in this bed did ok, but not great. Cucumbers growing in the wood chip bed did great. Cucumbers growing in just a clay bed (no wood chips, no hugel logs) did very poorly (didn't produce any harvest).


There were lots of worms and worm holes in the this soil, but it was still thick clay and no where close to being as good as the soil in the wood chip bed.


It seemed the roots did best in soil that was about one-half wood chips!
Quite a surprise.

As another experiment, I had planted a couple seedlings above some wood-chip-only clumps in the soil that were about 3" deep and 5" diameter. The plant roots did not like growing into only wood chips and these plants didn't do as well.

Seeing how well roots did in "wood chip soil", has given me confidence to really go all out when digging in chips. I had wondered what would be too much. But it seems even 1/2 chips, 1/2 dirt is great for the plants.  If I had seen this before I prepared my 4 new hugel beds, I would have dug in even more wood chips. For the 2 existing wood chip beds, I'm digging in a lot more chips now, before planting fava beans.


Monday, September 24, 2012

Tree roots in garden


Large redwood trees send extensive root mats into my garden

Rather than fighting these roots, or trying to set up barriers blocking them, I'm trying to use them to add organic matter every year into the garden.  I dig a trench between the tree and garden, cut the roots and refill the trench with dirt.  Will add a drip line to then lead the roots back into the garden, so that I'll know where to cut them again next year.  This could add a great deal of organic matter to the garden each year. Only unknown is how far down I'll need to dig a trench to be sure all the roots are cut.

If anyone knows an easy way to cut tree roots about 3' deep, please post.


Tuesday, September 4, 2012

Worm hole roots

Just for fun here are some pictures of bean roots growing through worm-holes.
They looked like miniatures of the roots growing in gopher tunnels. 

I dug up two bean plants, one doing great, one dying, to see the difference.
The dying bean plant had wet, saturated soil.
The good bean plant, had very dry soil.
Classic mistake, over-watering bean plants.

In the dry soil I was able to get good pictures since the dirt that didn't crumble or compress.


Eggplant stump & branch pot comparison


Well I couldn't resist digging up my eggplant stumppot.  It was doing so well, I just had to see what was going on in the roots.

Here is a slideshow showing what I found and also how it compared to the other eggplant in a branchpot.


Monday, September 3, 2012

Pepper Containers

This year I planted 4 pepper-plant tubs with different soil mixes.

In this video they are compared and dug up to see what can be learned from the roots, to improve future container plantings.


Interestingly these trials have led to the conclusion to put rotted wood at the top of the container (not in the bottom), just like nature does it in the forest, with rotted logs on top of the ground.

Based on this and other root excavations, here are some ideas for future soil arrangements I plan to test next. Will try to test with lettuce over fall, but might have to wait until next spring.


Monday, August 13, 2012

Squash Root Excavation

After seeing one of the squash plants to so much better than all the rest in the garden, I had to see why.
So I dug up the roots very carefully to find out what was going on.
Some unexpected and surprising results came to light.


Tuesday, July 31, 2012

Gopher Aeration Tunnel

Here was a trial to see if a 6-pack cucumber can be transplanted wilt free.


Dug a small 6" diameter hole ~3" deep.  Put the cuke in and carefully covered the peat transplant mix with a thin layer of compost.  The compost layer will help keep the peat from drying out too fast. 


After the compost layer, just added wood chip mulch to fill in the hole.


For a comparison/control, another cucumber from the 6-pack was planted traditionally, just dug a small hole and filled it back in with garden dirt.


Here are the 2 6-pack transplants side by side.  The one on the left was "no-wilt" planted.  Right one was planted normally.

To my surprise and frustration, at first neither of them wilted.  Then after a few days, the "no-wilt" planted one wilted just a little.  The normally transplanted one continued to be perky.
At this point I questioned all my conclusions and thought maybe something else entirely is going on.


 I carefully examined the soil around the "no-wilt" one. The peat mix was slightly dry, but not completely dry.  However, the clay soil beneath was totally saturated.  To much watering.  Also I think there was too much wood chip mulch, it was cutting off access to oxygen.  So I removed much of the mulch, leaving just a thin layer of wood chips.

Then I carefully looked at the soil around the "normal" transplant. The soil was saturated also. As I dug carefully around I found a small gopher tunnel next to the roots! A gopher has dug close to the cuke, but didn't go into the roots.  Some of the roots dangled a little in the tunnel.


 It's hard to see but there is a small tunnel under and off to the side of the roots.
The tunnel had been providing the oxygen to keep the plant from wilting!

I filled in just half the tunnel and tried to leave a small hole next to the roots.
Here are the plants after all this investigation and poking around, about 12:30pm.  Both were doing well.


About 4 hours later, here are the 2 plants again.  The "no-wilt" one isn't wilting.  And now after the gopher tunnel had been mostly filled in, the plant started wilting as I had originally expected it to when transplanting it.


Well maybe gopher tunnels can be used to help aerate transplant roots?


Friday, July 20, 2012

Shock & Wilt Free Transplanting


After seeing how seedlings in soil blocks do not wilt, even in 100 degree F heat, I tried many ways to get this same result after transplanting the seedlings in the ground.

But it seemed that every time I took a soil block seedling and transplanted it in the ground, it wilted in heat.  Each time I had covered the soil block entirely with ground dirt.

It seems the soil block not only supplied enough water, but also air to the roots. When I buried the soil block it cut off easy access to air.  This happened even when I transplanted a soil block plant into a 15 gallon air-pot.

Finally I tried this transplanting setup in the diagram and it has worked great so far, no wilting even in hot weather for cucumber transplants.

Basically grow your transplant in a net pot, or repot a 2-3" transplant into a 5" net pot.
Then dig a 5" hole in the garden where you want the plant.  Put the net pot in, only bury the bottom half of the net pot.  Put woodchips in the remaining top up to and over the surface of the net pot.

Now the roots can grow out into the soil, but also get a lot of air b/c of the unburied top half.
I believe it is important not to use peat moss as your seedling mix, because the top half may dry out and become hydrophobic, causing severe plant wilt.

I used soil/compost that I scrapped off the ground around a pine tree, very rich organic material.
I had tried using this material in a soil block, but after compressing it, it was too dense and seeds wouldn't germinate or grow well. Put into a net pot though and seeds sprouted and grew well.

Here's a cucumber seedling that was grown in a 3" peat moss soil block, then put in a 5" net pot with compost/forest mix surrounding the soil block.  I transplanted it in the ground about a week ago.
 

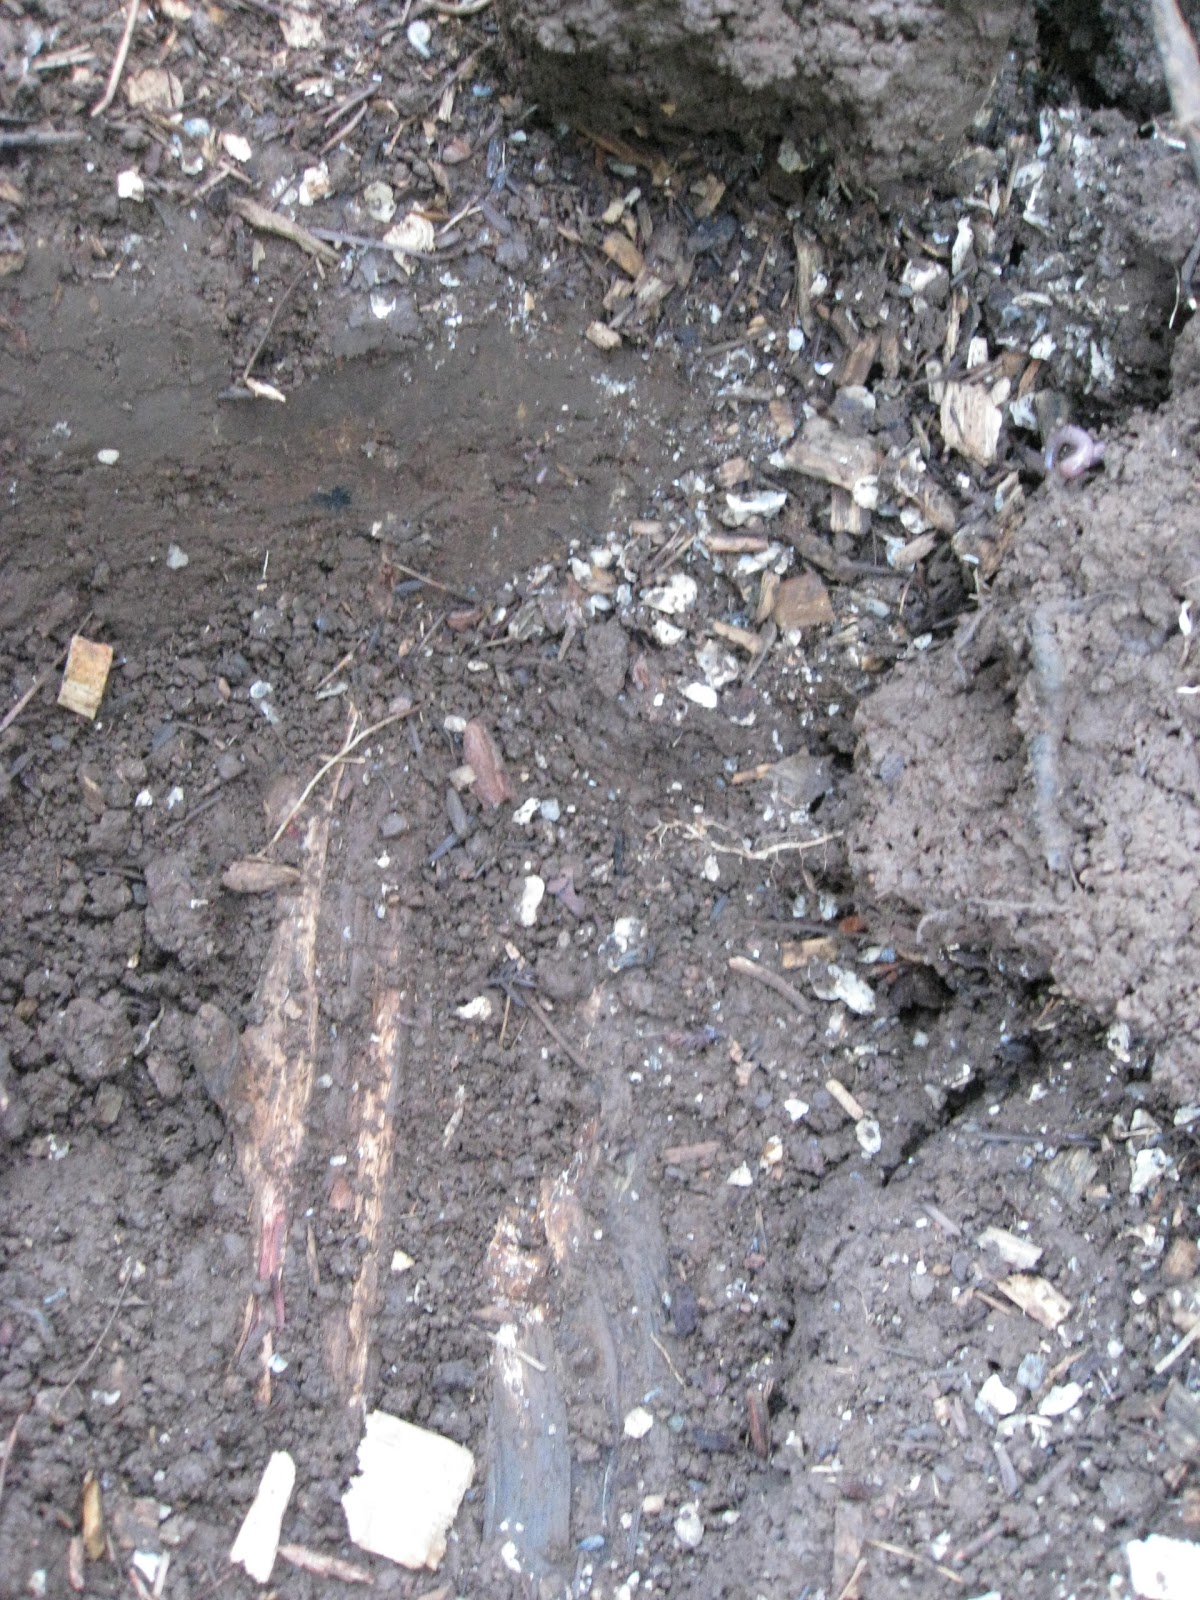
Here is a close up of the pot & roots, with the wood chips temporarily moved away. Notice that the root have already started to grow out into the wood chips, providing more aeration.
This plant hasn't wilted yet after one week and one hot day.


 About a month ago, after seeing the results of vertical hugelkultur, I prepared another bed with 3 vertical stumps in them. To test out this method further.


I first planted a cucumber seedling from a peat moss 3" soil block. It was planted in the ground on top of the wood wicking wafer. This one wilted and needed shade for a couple weeks to get established in the ground.


Next, the idea came for just covering half the transplant with soil.  So then I took 2 cucumber seedlings in 3" peat soil blocks, put them in net pots. One with compost around it, one with just clay dirt around it. And planted them in the soil.  I did not at this point cover the plantings with wood chips.
Here's a picture of them several days after transplanting. I watered them every day, except this day.
Neither had wilted before, but now the one on the right was wilting. It was the one with clay in the net pot.
While the soil in the ground was wet, the clay in the net pot had dried out and formed a hard crust.  I believe the main reason for the wilting was the roots could not get enough air.  Right under the crust the soil was wet.
The soil in the net pot on the left was still damp, it's plant did not wilt.


Close up of plant on left, non-wilting with forest compost in net pot.

Close up of plant on right, wilting with clay in net pot.

Next I top watered the plants and put some wood chips on top of the plant in clay.

 After about 10-15 minutes it recovered.

Later, I covered both planting holes with wood chips.  Initially, I though this would cut off to much air and might cause wilting, as had filling the hole with soil did in the first planting.  But the wood chips proved to provide enough air exchange and the plants did not wilt, and it was easier to keep them watered enough, so they didn't wilt from dry soil.  Here are the two plants today almost 3 weeks after transplanting.

Here on the left is the originally planted cuke that needed shading.  It was transplanted almost 2 weeks before the other two. (The right plant is the same as the left plant in the picture above.) 


I'm very excited to see how these 3 cucumber plants grow.  Will the two net pot ones stay wilt free, even when they get bigger??  Hopefully the stumps underneath them will help with this.  Will the net pots planted in the ground restrict the roots and stunt the plants somewhat.  I don't believe so, but want to see.
Also I want to see if the one planted first becomes completely wilt free once it roots grow bigger and reach the stump below it. It now still wilts some in heat.


Up to this time all the transplants have been first 3" peat soil blocks put into net pots.  After seeing the problems with peat drying out when transplanting I started a squash and one more cuke in 5" net pots planted with just forest floor compost.  I'll transplant them (when they are bigger) exactly as in the diagram to insure this method works. Next year I'm currently planning on doing all my own transplants this way for the entire garden, and putting stumps under everything.

5" net pot seedlings in forest floor mix, waiting to be transplanted.

Wednesday, July 18, 2012

Shock & wilt free transplanting -- The failures

This summer I've been trying different methods to transplant squash and cucumber plants with absolutely no shock or wilting, no matter how hot it is.

Mostly now I plant these from seeds directly in the ground, since the transplants usually die or don't do as well as direct seeded ones. But with a garden with only afternoon sun, it takes a long time for them to mature and they usually need shading for awhile.  I lose probably 3 weeks compared to gardens with morning sun in my area.

*******************************************************************************
This post will be about the failures, the next post will have an
initial successful method that I'm quite excited about.
*******************************************************************************


First tried soil blocks as I read they transplant well.  Also I observed that seedlings growing in soil blocks don't wilt.  On this almost 100 degree day, these plants are not wilting!  Whereas almost every other plant in my garden is wilting.

I figured it must be the great root system the soil block plants grow.  And also using the wood wafer for wicking allowed enough water with enough aeration (just like the stumppot).
This squash was planted directly in the ground and it wilted. Needed shade for almost 2 weeks. But it did survive and is doing well.


Next I thought, maybe I should bury the wood wafer also when transplanting, then like the vertical hugelkultur, it will wick enough water to prevent wilting
This cucumber plant was planted in the ground on top of its wicking wafer.  It did better, but it still wilted and needed shading.

Here is the cucumber about 2 weeks later still being shaded. It did survive nicely and doesn't need shade now.

Next tried planting an eggplant directly on top of a stump in the ground. Since this is what I did in the stumppot.  And in the container stumppot the eggplant never has wilted.
Unfortunately, this eggplant wilted also and needed shade.  I believe it wilted (whereas the stumppot one didn't) because it was planted right during a 90+degree heatwave.  It didn't have enough time to develop a root mass over the stump before the heat hit.  It is doing ok now without shade. It will be interesting to see how it grows the rest of the season.


Another failed trial was taking a soil block plant and planting it only half deep. The reasoning was that the upper part of the soil block would still get great aeration.
This picture shows it wilting also.  It wilted because the top exposed peat moss part dried out completely, even though the ground is wet.  This is a problem with peat. Even the peat soil block plants that were completely covered with dirt when transplanted in the ground, had the peat dry out some.  I'd stick my finger in the ground to feel around.  The clay soil all around the peat soil block would be wet, but the peat soil block would be dry.  The clay would just suck all the water out of the peat block.


Summarizing the failures:

1.  Peat soil blocks totally covered in soil when transplanted.
2.  Peat soil blocks partially covered in soil when transplanted.
3.  Peat soil block on top of wood wafer, totally covered with soil when transplanted.
4.  Store bought seedling transplanted directly on stump.  Seedling root block totally covered with soil.
5.  Store bought seedlings transplanted in a 15-gallon air-pot container (pictures not shown).


 Next post:  The shock and wilt free transplanting success.